Getting the keys to your new flat is an exciting milestone. After months of waiting, you finally have a space you can call your own. Naturally, your next thoughts turn to the modular kitchen, wardrobes, false ceiling, lighting and furniture.
But before you start your home interiors, there is one important step you should never skip: inspecting the flat thoroughly.
A newly handed-over apartment may look perfect during a quick walkthrough, yet problems such as wall cracks, seepage, faulty electrical points, plumbing leaks or uneven flooring can become expensive headaches once interior work begins.
That is why a new flat handover checklist is essential. It helps you identify defects, verify important documents and plan your interiors before carpentry, ceiling work and other finishes cover the original surfaces.
Whether you have purchased a 2BHK, 3BHK or luxury apartment, here are 25 things to check before starting your home interiors.
The checklist at a glance
- Documents and handoverChecks 1 to 5: OC, floor plan, carpet area, keys, society rules
- Physical inspectionChecks 6 to 18: walls, ceilings, floors, doors, electrical, plumbing
- Interior planningChecks 19 to 25: measurements, layout, lighting, storage, snag list
Why Should You Inspect Your Flat Before Starting Interiors?
Once wardrobes, wall panelling, false ceilings and modular kitchen cabinets are installed, inspecting the original structure and concealed services becomes more difficult.
For example, a wardrobe installed against a damp wall can hide a moisture problem. Similarly, an electrical point positioned incorrectly behind a cabinet may require additional work to relocate.
A proper flat handover checklist helps you:
- Identify visible construction defects that should be reported to the builder.
- Verify the flat's specifications and important handover documents.
- Plan electrical points, lighting, plumbing and storage before execution.
- Reduce unnecessary alterations, delays and avoidable rework.
- Establish a realistic interior design estimation.
The best approach is to complete the documentation checks first, inspect the physical condition of the flat, and then finalise the interior design requirements.
Part 1: Documents and Basic Handover Checks
Before inspecting individual rooms, make sure the essential documents and handover details are in order.
Verify the Occupancy Certificate
Check the building's Occupancy Certificate (OC), where applicable, and verify the relevant details with the competent authority.
An OC relates to the building's permission for occupation. Do not rely solely on verbal confirmation from the builder. Ask for the relevant documentation and clarify any outstanding approvals before proceeding.
In Telangana, the official TG-bPASS portal provides information and services related to building permissions and occupancy certificates.
Check the Approved Floor Plan
Keep a copy of the approved floor plan and compare it with the flat you have received.
Check the room configuration, door and window positions, balcony access and utility areas. Also, keep any builder-provided electrical and plumbing layouts available for reference.
These documents will be useful when planning furniture, storage and technical requirements for your interiors.
Confirm the Carpet Area and Promised Specifications
Compare the applicable carpet area and property specifications with your sale agreement and other relevant documents.
Check the flooring, sanitaryware, electrical fittings, doors, windows and other builder-provided items against the agreed specifications.
Record any discrepancies rather than assuming they will be corrected automatically.
Collect Keys, Access Details and Utility Information
Collect the main door keys, access cards, parking details and other applicable handover items.
Confirm the electricity meter details, water supply arrangements, maintenance procedures and contact information for reporting building-related issues.
Keep copies of the possession letter, applicable warranties, appliance manuals and other documents supplied by the builder.
Your handover document file
- Occupancy CertificateWhere applicable, verified with the competent authority
- Approved floor planPlus any electrical and plumbing layouts
- Sale agreementCarpet area and promised specifications
- Possession letterWith the handover date recorded
- Warranties and manualsFor fittings and appliances supplied by the builder
- Utility and contact detailsMeter, water supply, maintenance and complaints
Understand Society Rules Before Interior Work
Ask the apartment association or facility management team about renovation permissions, contractor registration, working hours, lift usage, debris disposal and material delivery.
These rules can affect your interior project schedule, especially if heavy materials, modular furniture or large appliances need to be delivered.
Part 2: Physical Inspection Checklist
Inspect your flat in daylight wherever possible. Carry your phone, a torch, a notebook and a charger for basic socket checks.
Photograph visible defects and record their exact locations. For electrical, structural or waterproofing concerns, arrange an assessment by a qualified professional rather than attempting risky tests yourself.
What to carry for the inspection
- PhonePhotograph every defect with its location
- TorchCheck corners, ceilings and under sinks
- NotebookRoom-by-room notes for the snag list
- ChargerBasic check that sockets are live
Inspect Walls for Cracks
Look for visible cracks, damaged plaster, uneven surfaces and gaps around door or window frames.
Photograph any concerning cracks and ask the builder or a qualified professional to assess them. Do not assume every crack is harmless or cover it with paint or panelling before understanding its cause.
Check Ceilings for Dampness and Seepage
Examine the ceilings, especially beneath bathrooms, near external walls and around service shafts.
Look for damp patches, bubbling paint, discolouration or peeling finishes. If you notice signs of moisture, document them and request an investigation before installing a false ceiling.
Check for Dampness Around Windows and External Walls
Inspect corners, window edges and walls adjoining bathrooms or balconies.
Pay attention to musty smells, watermarks and areas where paint appears swollen. These signs may indicate moisture ingress that needs to be investigated before the interiors are installed.
Where moisture usually shows first
- Below bathroomsCeiling patches, bubbling or peeling paint
- External wallsWatermarks, swollen paint, musty smells
- Window edgesStains and damp corners after rain
- Service shaftsDiscolouration around pipes and openings
Document and resolve these before wardrobes, panelling or a false ceiling go in.
Examine the Flooring and Tiles
Walk across the rooms and inspect the tiles or other flooring for cracks, chips, uneven surfaces and inconsistent joints.
Some tiles may sound hollow when gently tapped, which can indicate a bonding issue. Record suspicious areas for professional assessment rather than assuming every hollow sound means a tile must be replaced.
Also check whether the flooring is suitable for the planned furniture and fixed carpentry.
Test Every Door and Window
Open and close every door and window several times.
Check whether the shutters move smoothly, locks engage properly and handles are secure. Look for visible gaps, damaged seals, scratched glass and poorly finished frames.
Properly functioning windows are particularly important in Hyderabad, where seasonal rain can expose weaknesses in window sealing.
Inspect Balcony Drainage
Check the balcony floor, drain outlet and visible joints for damage or signs of water accumulation.
Where necessary, have the drainage and waterproofing assessed by a qualified professional. Avoid aggressive water tests that could cause leakage into neighbouring apartments.
Test Every Electrical Switch and Socket
Turn on the lights and test accessible switches and sockets using a suitable tester or charger where appropriate.
Check the intended AC points, refrigerator point, washing machine connection, kitchen appliance points and other provisions shown in the electrical plan.
Have a qualified electrician investigate loose fittings, dead sockets, unusual heating or other electrical concerns.
Check the Electrical Distribution Board
Locate the distribution board and check whether the circuits are clearly labelled.
Ask a qualified electrician to verify the protective devices, earthing and circuit arrangements. Do not open electrical panels or attempt live electrical tests yourself.
This inspection is particularly important before planning additional lighting, appliances or dedicated power requirements for your interiors.
Test Water Pressure and Plumbing
Turn on the available taps and check the water flow. Inspect visible pipe connections beneath sinks and washbasins for leakage.
Flush the toilets and observe whether the water drains correctly. Check the kitchen and utility connections as well.
Report persistent leakage, unusual drainage behaviour or low water pressure before cabinetry or other finishes conceal the relevant connections.
Check Bathroom Drainage and Waterproofing
Inspect the shower area, washbasin, floor drain and visible joints.
Check for standing water, damaged grout, loose tiles and dampness around adjoining walls. Where necessary, arrange an appropriate waterproofing inspection before installing bathroom storage or other fixed elements.
Inspect the Kitchen and Utility Area
Check the sink connection, water inlet, drainage outlet, exhaust provision and appliance points.
Confirm the locations of the refrigerator, dishwasher, washing machine and water purifier connections, if you intend to install these appliances.
These details will influence your modular kitchen layout, countertop design and utility storage.
Check Ventilation and Exhaust Provisions
Inspect the kitchen exhaust provision and bathroom ventilation arrangements.
Confirm that openings and duct connections are accessible and suitable for their intended use. Do not assume an exhaust fan or duct can be installed anywhere without checking the building's provisions and restrictions.
Verify the Builder-Provided Fixtures
Compare the installed fixtures against the specifications in your agreement.
Check the visible condition of sanitaryware, taps, handles, door hardware and other supplied fittings. Photograph damaged items or anything that differs from what was promised.
Part 3: Interior Planning Checks Before Work Begins
Once you have documented the flat's condition, turn your attention to the decisions that will influence your interior design.
Get the Flat Measured Professionally
Do not depend entirely on brochure dimensions or an old builder drawing.
Have the actual site dimensions checked, including wall lengths, ceiling heights, beams, columns, door openings and window positions.
Accurate measurements help prevent oversized wardrobes, poorly fitted modular kitchens and furniture that obstructs movement.
For homeowners working with Simplify Home, the process begins with a discovery consultation and site visit. The team reviews the apartment's dimensions, the family's requirements, storage needs and preferred design direction before developing the layout.
Simplify Home's space-planning checklist
- Room measurementsRecording the dimensions and relevant architectural constraints.
- Furniture requirementsIdentifying the furniture pieces needed for each room and checking their proposed dimensions.
- Movement and accessibilityReviewing walking paths, door openings and access to wardrobes and storage.
- Layout optionsExploring how furniture and storage can be arranged within the available space.
- Design visualisationDeveloping 3D views of key spaces to help the homeowner review the proposed arrangement.
- Working drawingsTranslating the approved design into drawings for execution.
This process helps homeowners assess their furniture requirements before purchasing major items or committing to carpentry.
Explore Simplify Home's interior design consultancy to learn more about its planning and visualisation services.
Finalise the Furniture Layout
Decide where the sofa, television, dining table, beds, wardrobes and other major furniture pieces will go.
Consider walking paths, door swings, access to windows and the space needed to open drawers and wardrobe shutters.

Check whether the planned furniture arrangement allows you to use the room comfortably without making it feel crowded.
For inspiration, explore the Simplify Home residential interior design portfolio to see how furniture, storage and finishes can come together in completed spaces.
Plan Electrical Points and Lighting
Before electrical modifications begin, identify the requirements for ceiling lights, bedside switches, decorative lighting, kitchen appliances, workstations and entertainment units.
Decide whether you need provisions for air conditioning, an inverter, a router or smart-home controls.

Have the proposed changes reviewed by a qualified electrician and coordinate them with the final interior drawings.
Electrical points to decide before work starts
- Ceiling and cove lightsPositions fixed with the false ceiling design
- Bedside switchesReachable from the bed on both sides
- TV and entertainmentPower and data behind the unit, wires concealed
- Kitchen appliancesDedicated points for each planned appliance
- AC and inverterProvisions and routing agreed early
- Router and smart controlsCentral location, ready for automation
Finalise Kitchen and Storage Requirements
List the appliances you plan to use and confirm their dimensions, power requirements and plumbing connections.
Plan the kitchen work zones, countertop usage, storage and access to frequently used items. For bedrooms, consider wardrobe capacity, loft storage, internal drawers and access to stored belongings.
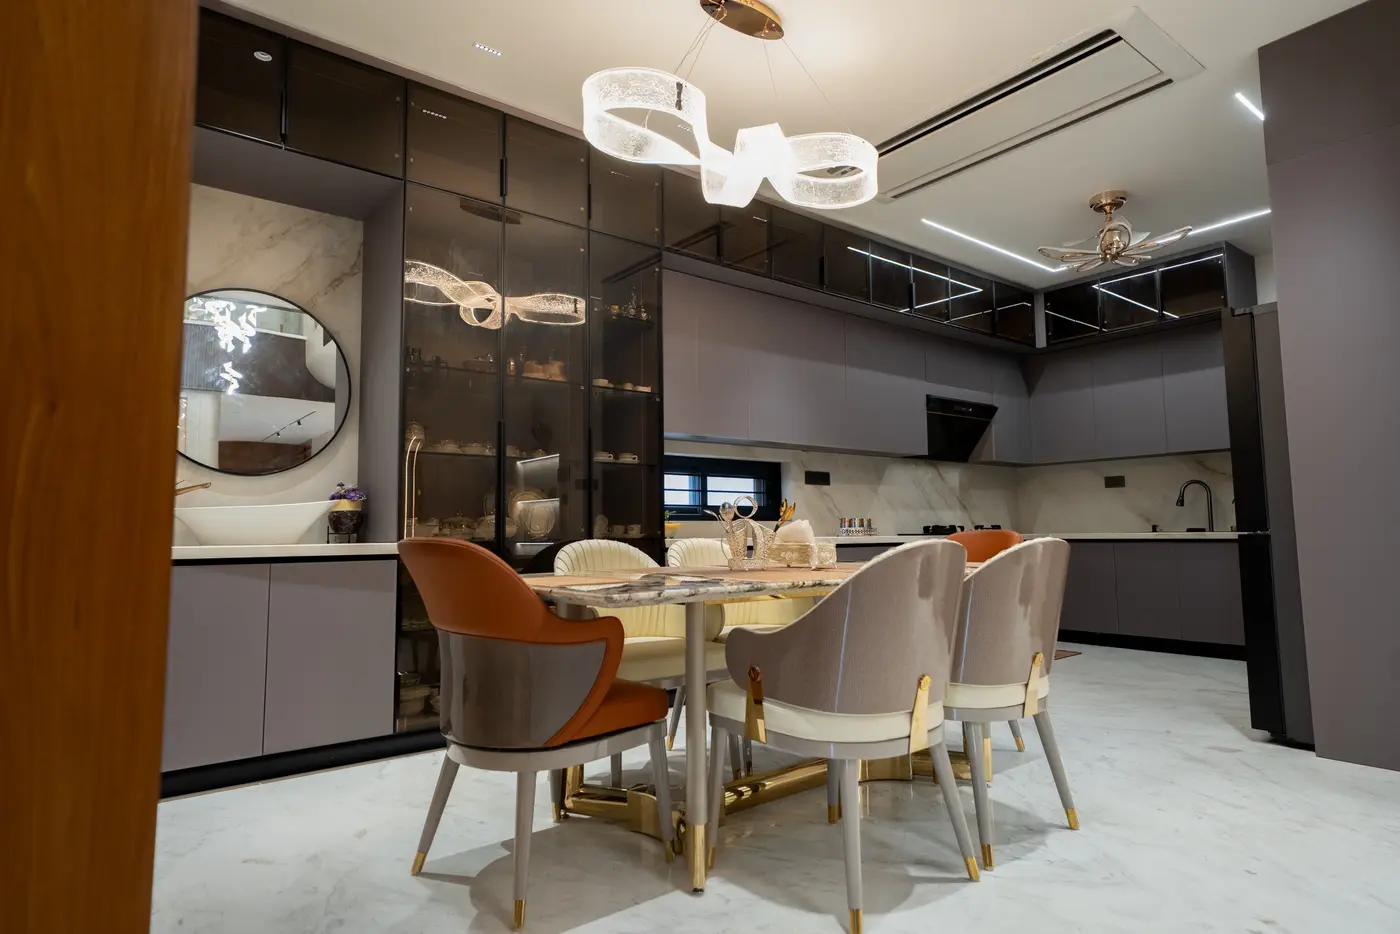
Decide which storage should be built in and which items can remain freestanding.
Decide the False Ceiling and Curtain Requirements
Check the existing beam depths, ceiling height, lighting locations and AC provisions before finalising a false ceiling.
If you want concealed curtain tracks, motorised curtains or cove lighting, plan the necessary space and electrical provisions early.

For turnkey projects, Simplify Home coordinates the relevant civil, electrical, plumbing, false ceiling and carpentry work around the approved design and project schedule.
Before execution, the team reviews the working drawings and coordinates key requirements such as:
- Electrical points for lighting, appliances and furniture.
- Ceiling details and planned light fittings.
- Kitchen and utility connections against appliance requirements.
- Curtain tracks and other ceiling-related provisions.
- The sequence of work across different trades.
Coordinating these elements early helps reduce the risk of discovering conflicting requirements after carpentry, ceilings or other finishes have been completed.
Learn more about Simplify Home's turnkey interior design and build service.
Finalise Materials, Finishes and the Interior Estimation
Create a coordinated plan for flooring, wall colours, laminates, veneers, countertops, hardware, lighting and upholstery.
Compare samples in the actual flat and consider durability, cleaning requirements and ongoing maintenance.
Prepare a detailed estimation that accounts for design, materials, labour, electrical changes, carpentry, lighting, delivery, installation and a contingency for unexpected work.
What a complete estimation should cover
- DesignConcept, drawings and visualisation
- MaterialsFinishes, hardware and fittings
- LabourCivil, carpentry, painting and finishing
- Electrical and lightingChanges to points plus light fittings
- Delivery and installationGetting everything to site and fitted
- ContingencyA reserve for unexpected work
For projects with Simplify Home, material planning connects the visual design with the practical requirements of execution. The team develops the selected concept into material specifications, working drawings and a bill of quantities for the agreed scope.
How Simplify Home plans materials
- Material palette developmentCoordinating flooring, wall finishes, cabinetry, countertops and other visible materials.
- Finish selectionReviewing laminates, veneers, hardware and lighting against the intended design.
- 3D visualisationHelping homeowners review the proposed materials and finishes before execution.
- Working drawingsDocumenting the relevant dimensions and design details for execution.
- Bill of quantitiesListing quantities for the defined scope to support costing and procurement.
- Procurement coordinationFor turnkey projects, coordinating materials and vendors against the approved design and project schedule.
This helps homeowners make important decisions earlier, improve cost visibility and reduce avoidable changes during execution.
If you prefer design, procurement and execution to be coordinated by one team, explore Simplify Home's turnkey interior design and build service.
Document All Defects and Obtain Written Confirmation
Before interior work begins, compile a final snag list containing each defect, its location, photographs and the date it was reported.
Send the list to the builder in writing and request confirmation of the proposed rectification timeline. Keep copies of the responses and reinspect completed repairs.
What every snag list entry needs
- The defectWhat is wrong, in plain words
- Exact locationRoom, wall or fixture
- PhotographsClear, dated pictures of the issue
- Date reportedWhen it went to the builder in writing
- Builder responseConfirmed rectification timeline
- ReinspectionChecked again once the repair is done
Section 14(3) of the Real Estate (Regulation and Development) Act, 2016 provides a framework for specified structural, workmanship, quality and service defects reported to the promoter within five years from handing over possession. It requires covered defects to be rectified without further charge within 30 days, subject to the provision's terms.
For a specific dispute, consult a qualified legal professional.
What Should You Do After Completing the Handover Checklist?
Once you have completed the inspection, follow a sensible sequence:
After the checklist, in order
- Report defectsSubmit your written snag list and coordinate the necessary repairs with the builder.
- Reinspect the flatConfirm that reported issues have been addressed before covering affected areas.
- Freeze the interior designFinalise layouts, electrical plans, materials and storage requirements.
- Confirm the scope and estimationObtain clear drawings, specifications and a written estimate.
- Coordinate executionSchedule civil work, electrical changes, ceiling work, carpentry and finishing in the correct order.
Final Thoughts
Getting possession of a new flat is only the beginning. Before you choose your sofa, finalise your modular kitchen or install your wardrobes, take the time to inspect the property and plan the work properly.
A systematic new flat handover checklist helps you identify defects early, make informed decisions and prepare your home for a smoother interior design process.
If you are planning a new apartment interior in Hyderabad, begin with a clear understanding of the space, a documented design plan and a realistic estimation.
Explore the Simplify Home residential interior design portfolio for inspiration, or learn more about interior design consultancy in Hyderabad to understand how professional space planning, material selection and visualisation can help prepare your home for execution.
The smartest interiors begin before the first piece of furniture arrives.
Frequently asked questions
What should I check before taking possession of a new flat?
Check the applicable handover documents, walls, ceilings, flooring, windows, doors, electrical points, plumbing, bathroom drainage, balcony drainage and builder-provided fixtures. Document visible defects in writing before interior work begins.
Should I start interior work immediately after getting the keys?
It is better to complete the inspection, report defects, confirm necessary repairs and finalise the interior plan first. Starting carpentry or concealing walls before resolving moisture or electrical problems can create avoidable rework.
What documents should I collect during flat handover?
Depending on the property and applicable requirements, collect the possession letter, relevant occupancy documentation, approved floor plan, applicable specifications, utility details and warranties. Check the sale agreement and consult a qualified professional if any required document is missing.
How do I prepare a new flat for interior design?
Begin with accurate measurements, a furniture layout, electrical and plumbing requirements, storage planning, a material palette and a realistic estimation. Confirm building or society renovation rules before work starts.
Can an interior designer help before the flat is ready for interiors?
Yes. An interior designer can help develop layouts, review design requirements, plan lighting and storage, coordinate material selections and prepare drawings while construction defects are being addressed. Interior execution should begin only when the relevant areas are ready.